Fix Permissions Denied (Camera / Network / Location)
Grant required permissions and recover from denied prompts.
Fix Permissions Denied (Camera / Network / Location)
The app needs camera, network, and sometimes location access to find and set up your LightCam. If you see a “permissions denied” or “allow access” message, fix it like this.
Prerequisites
- You’re in the setup flow and the app has asked for one or more permissions.
- You (or someone) previously tapped Don’t allow or turned the permission off in system settings.
Step-by-Step Guide
-
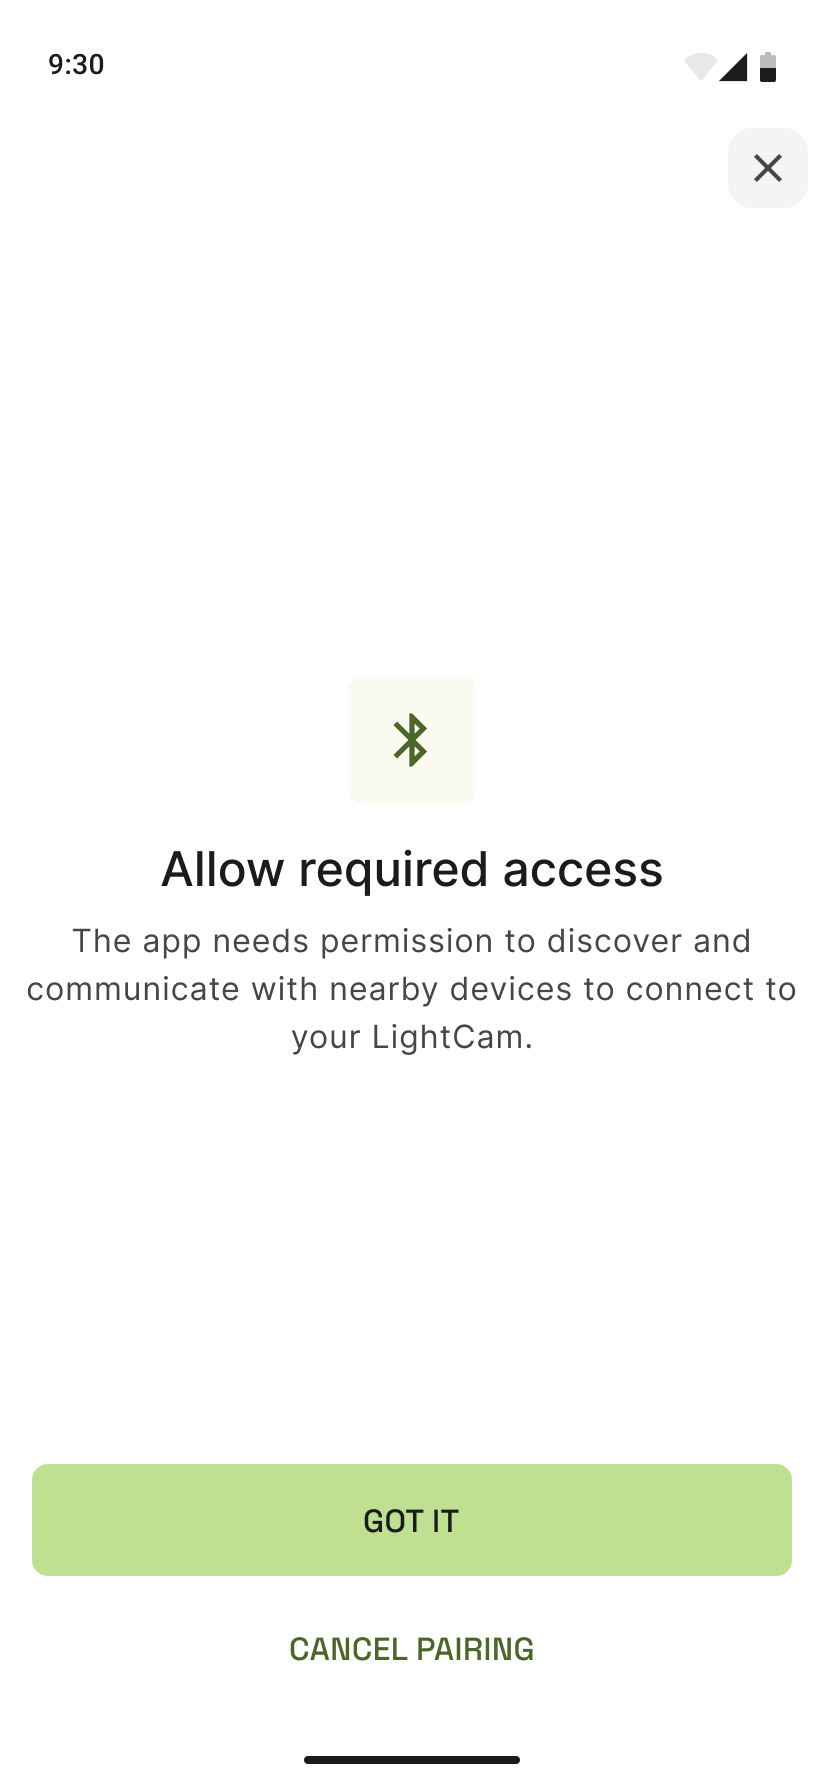
Read the permissions screen The app shows why it needs access (e.g. to find your device, connect it to Wi‑Fi). Tap Allow or Open settings when you’re ready.
-
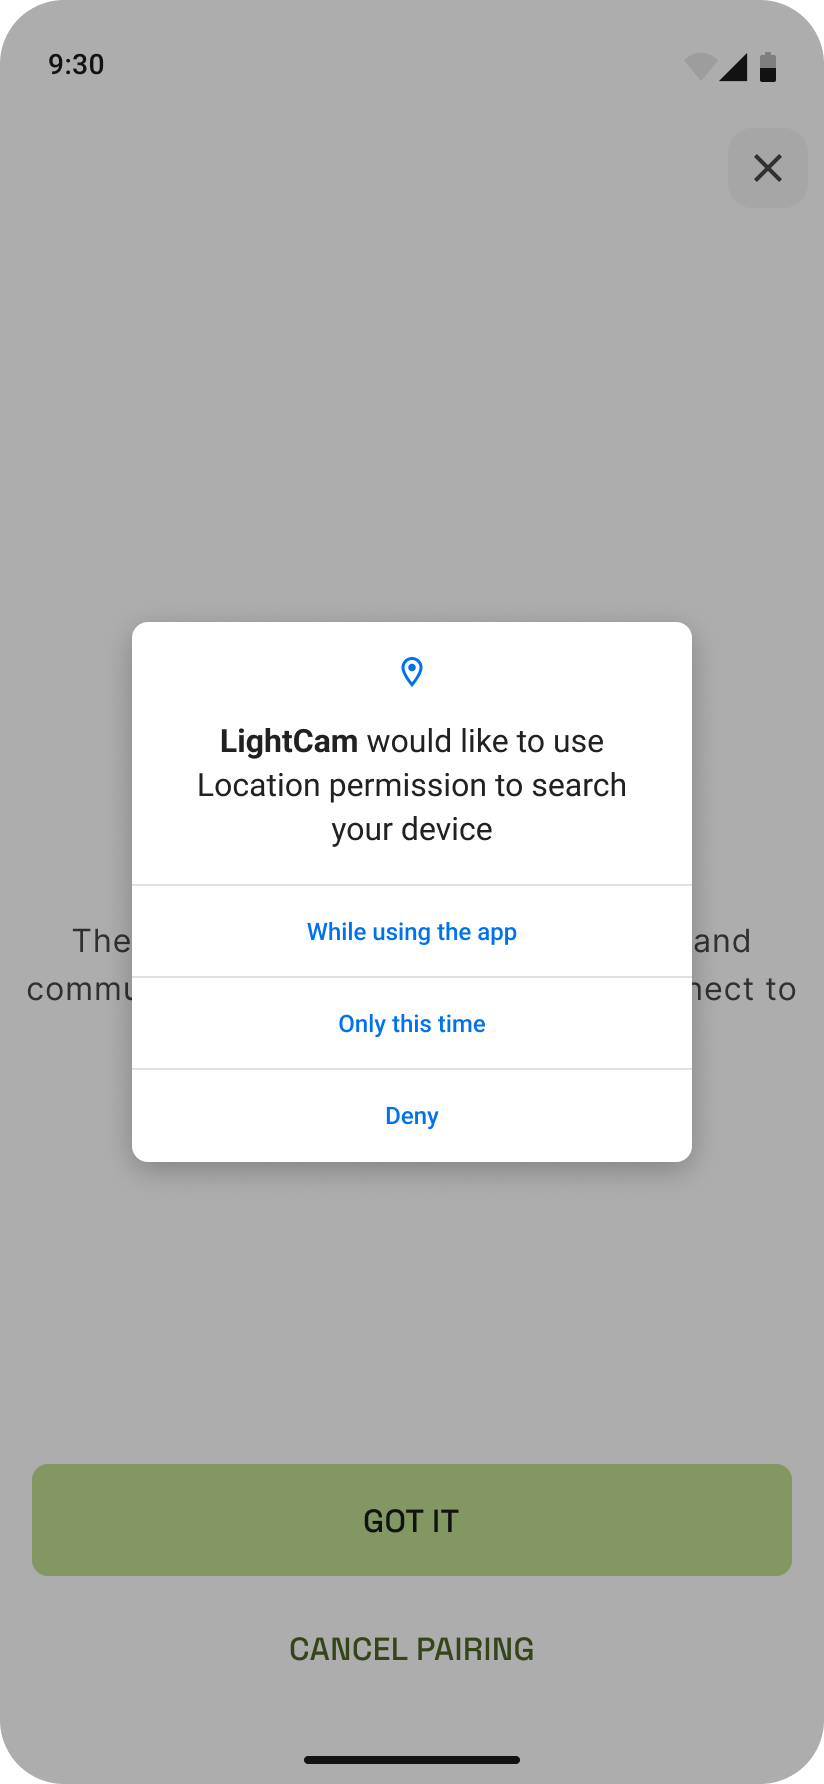
Grant access when the system prompt appears Your phone will show a system dialog (e.g. “LightCam would like to access…”). Tap Allow (or While using the app where that option exists).
-
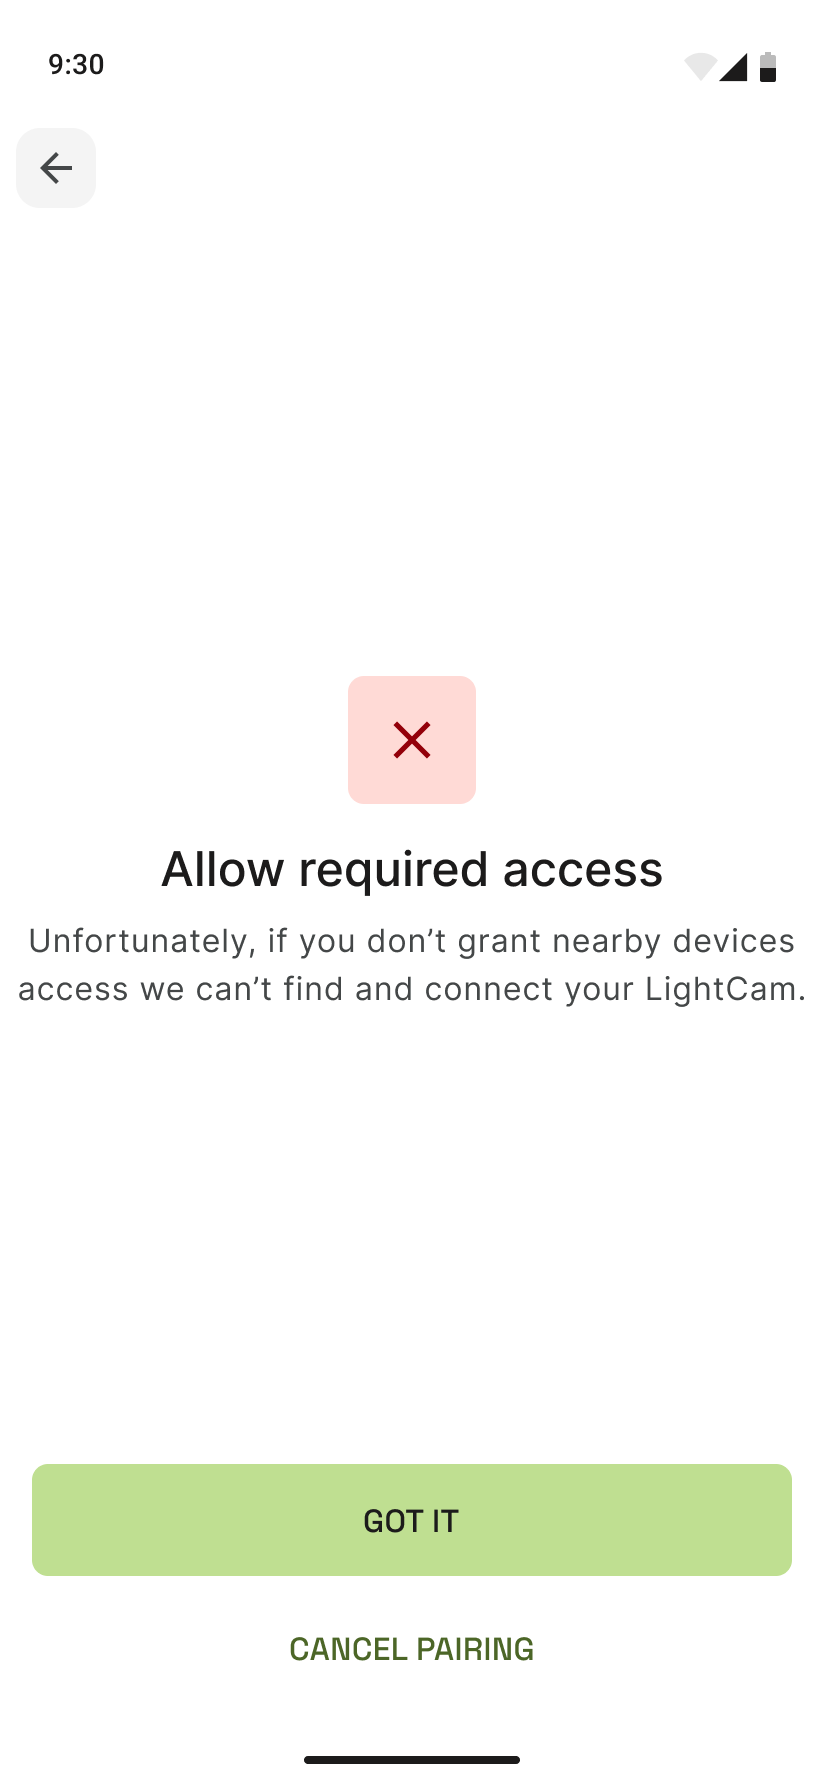
If you already denied and see “Permissions denied” The app will show a screen explaining that access is required. Tap the button to Open settings (or Settings), then turn on the permission for the LightCam app.

-
Return to the app and retry After enabling the permission, open the LightCam app again and run the setup or “Find device” step once more.
Common Issues & Fixes
- “Open settings” doesn’t open the right place: On some phones you land in the main Settings app. Find Apps (or Applications) → LightCam → Permissions and enable Camera, and Location if shown.
- iOS: If the app needs Camera or Local Network, go to Settings → LightCam and turn on the required permissions. Then reopen the app and try setup again.
- Location required: Some devices use location to scan for Bluetooth/Wi‑Fi devices. Choose While using the app if you want to limit when location is used.
Still Stuck?
- LightCam Setup: End-to-End in 5 Minutes
- Camera Not Found During Setup
- Go to your account → Messages to contact support.
Last updated: February 2026