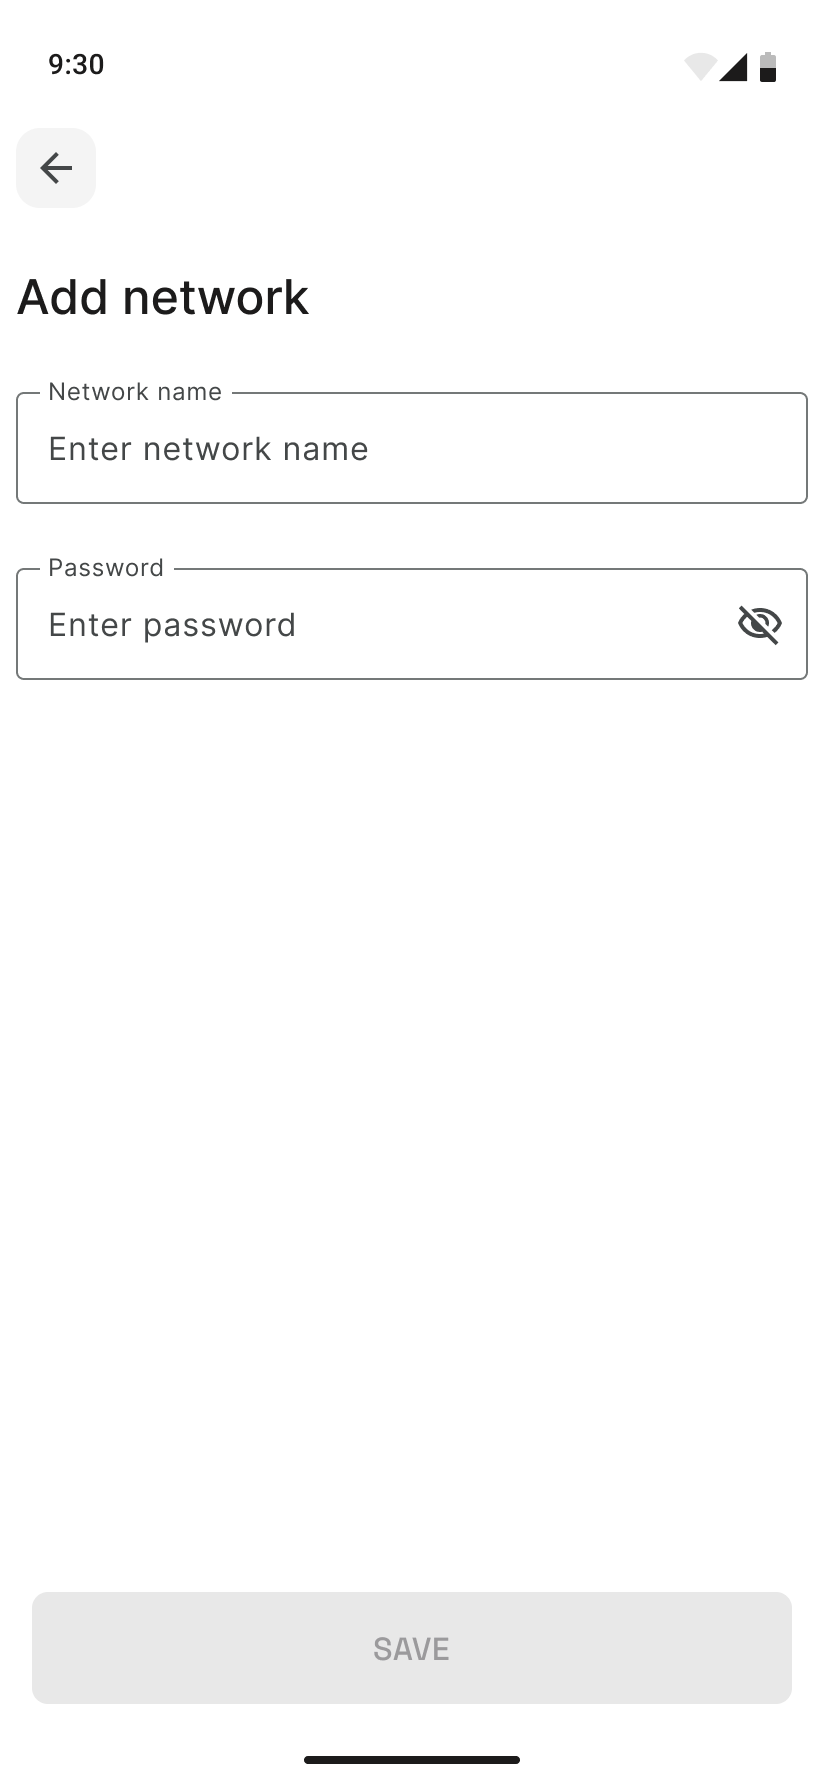
Manual Wi-Fi Entry (Hidden SSID / Add Network)
Connect when your network does not appear automatically.
Manual Wi-Fi Entry (Hidden SSID / Add Network)

If your Wi‑Fi network doesn’t show in the list (hidden SSID or “Add network” needed), you can enter the network name and password by hand.
Prerequisites
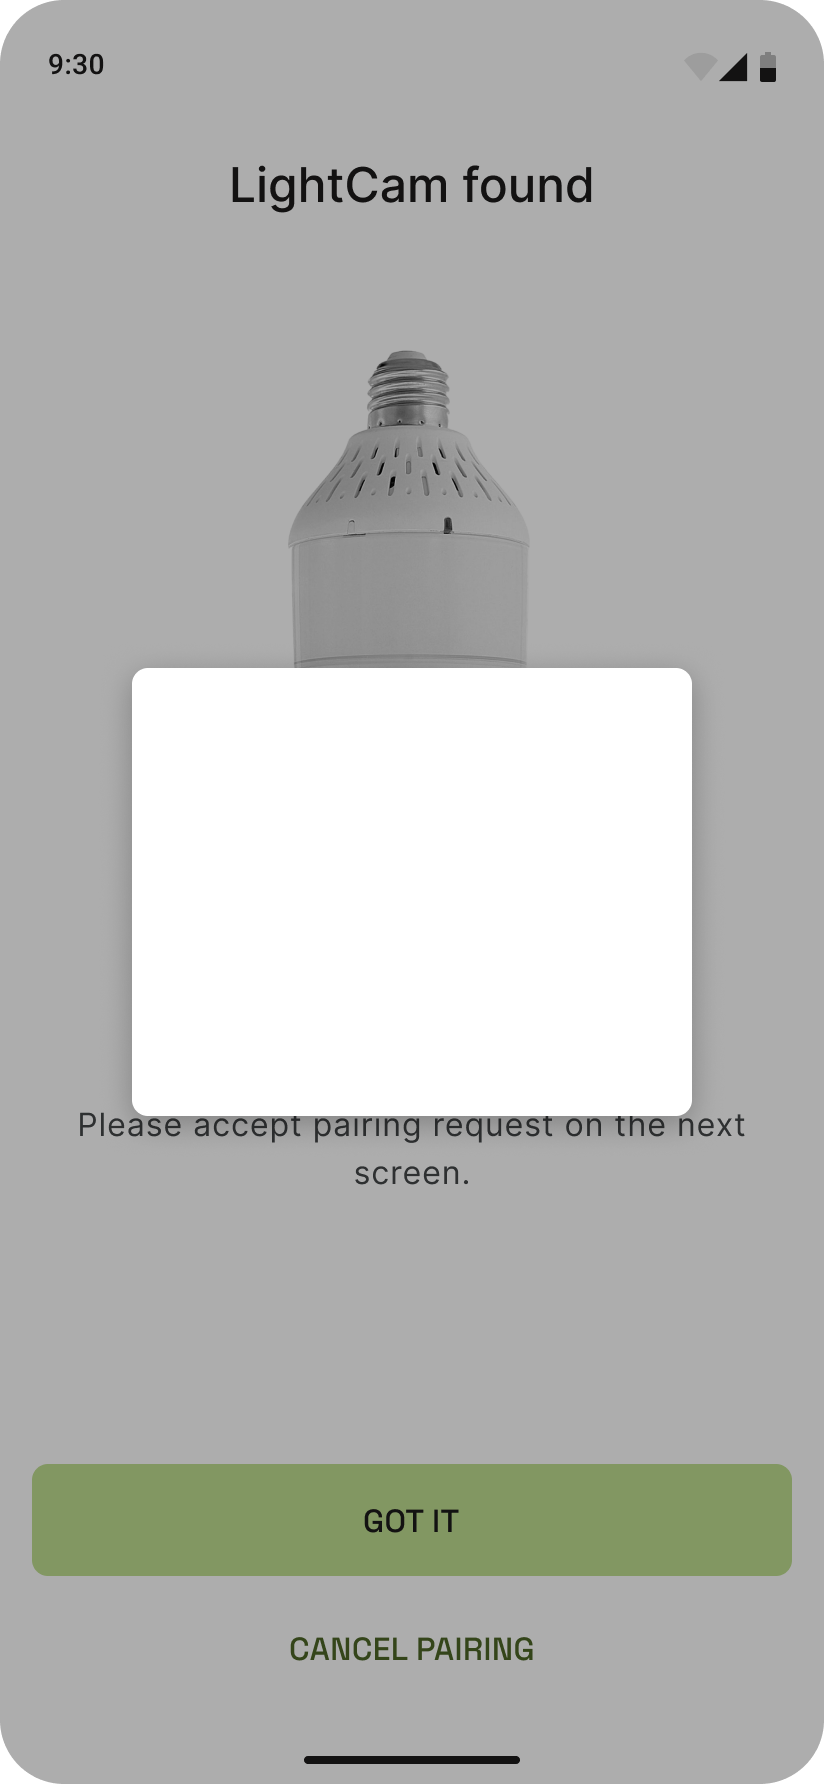
- Your LightCam has been found by the app and you’re on the step where the app connects it to Wi‑Fi.
- You know the exact network name (SSID) and password. For hidden networks, the name is case-sensitive.
Step-by-Step Guide
-
Open “Add network” On the Wi‑Fi selection screen, tap Add network (or “Add network manually,” “Other,” or similar).
-
Enter network name and password Type the exact SSID and Wi‑Fi password. Use “Show password” to avoid typos. Double-check for spaces at the start or end.
-
Connect Tap Connect (or Join). The app will try to connect the LightCam to that network. Wait for the pairing success screen.
-
If you see an error Re-check the SSID and password. For hidden networks, the name must match exactly. See Fix Wi‑Fi Connection Errors During Pairing for more steps.
Common Issues & Fixes
- “Network not found” or timeout: SSID might be wrong or the router may not allow the device. Verify the name on another device (e.g. phone Wi‑Fi settings) and try again.
- Wrong password: Re-enter the password; avoid copying extra spaces. Check the router label or admin page for the correct key.
- 5 GHz vs 2.4 GHz: Many smart devices only support 2.4 GHz. If your network is 5 GHz only, use a 2.4 GHz SSID or dual-band name that uses 2.4 GHz for the device.
Still Stuck?
- Fix Wi‑Fi Connection Errors During Pairing
- Pairing Stuck in Progress: What to Do Next
- Go to your account → Messages to contact support.
Last updated: February 2026