LightCam Setup: End-to-End in 5 Minutes
Complete guided setup flow with the expected screens at each step.
LightCam Setup: End-to-End in 5 Minutes
Follow these steps to add your first LightCam and get it online quickly.
Prerequisites
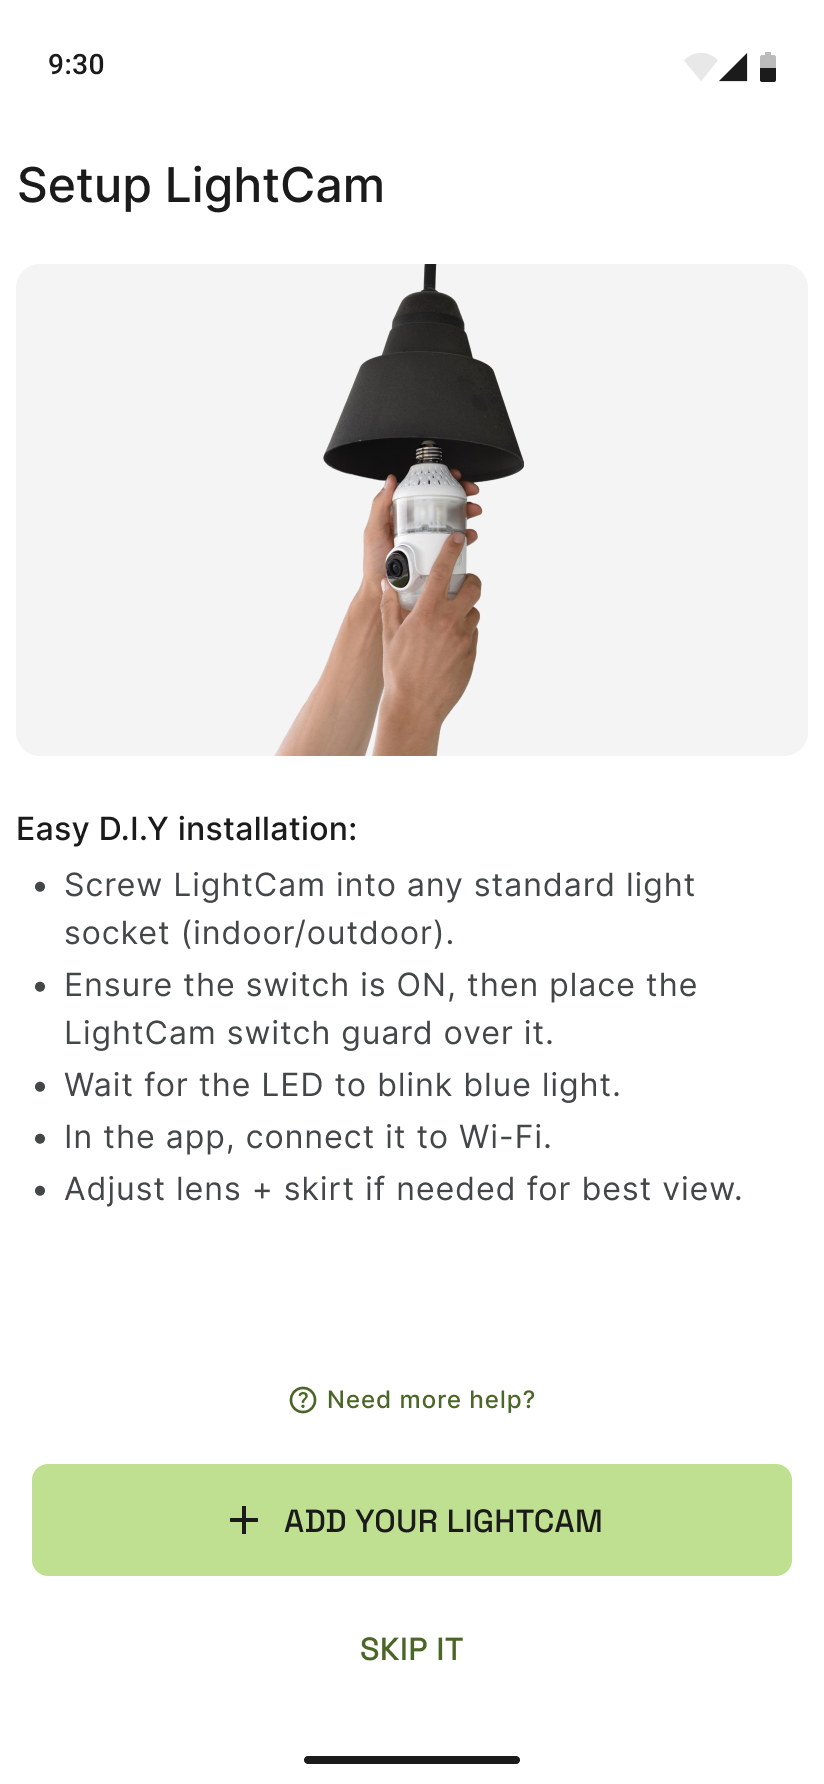
- LightCam hardware screwed into a standard light socket (indoor or outdoor).
- Light switch turned ON.
- LightCam switch guard in place (if using).
- Phone on the same Wi‑Fi network you want the camera to use.
- App installed and opened.
Step-by-Step Guide
-
Open setup in the app From the app home, tap Add device or start the add-LightCam flow. You’ll see the setup intro with installation tips.

-
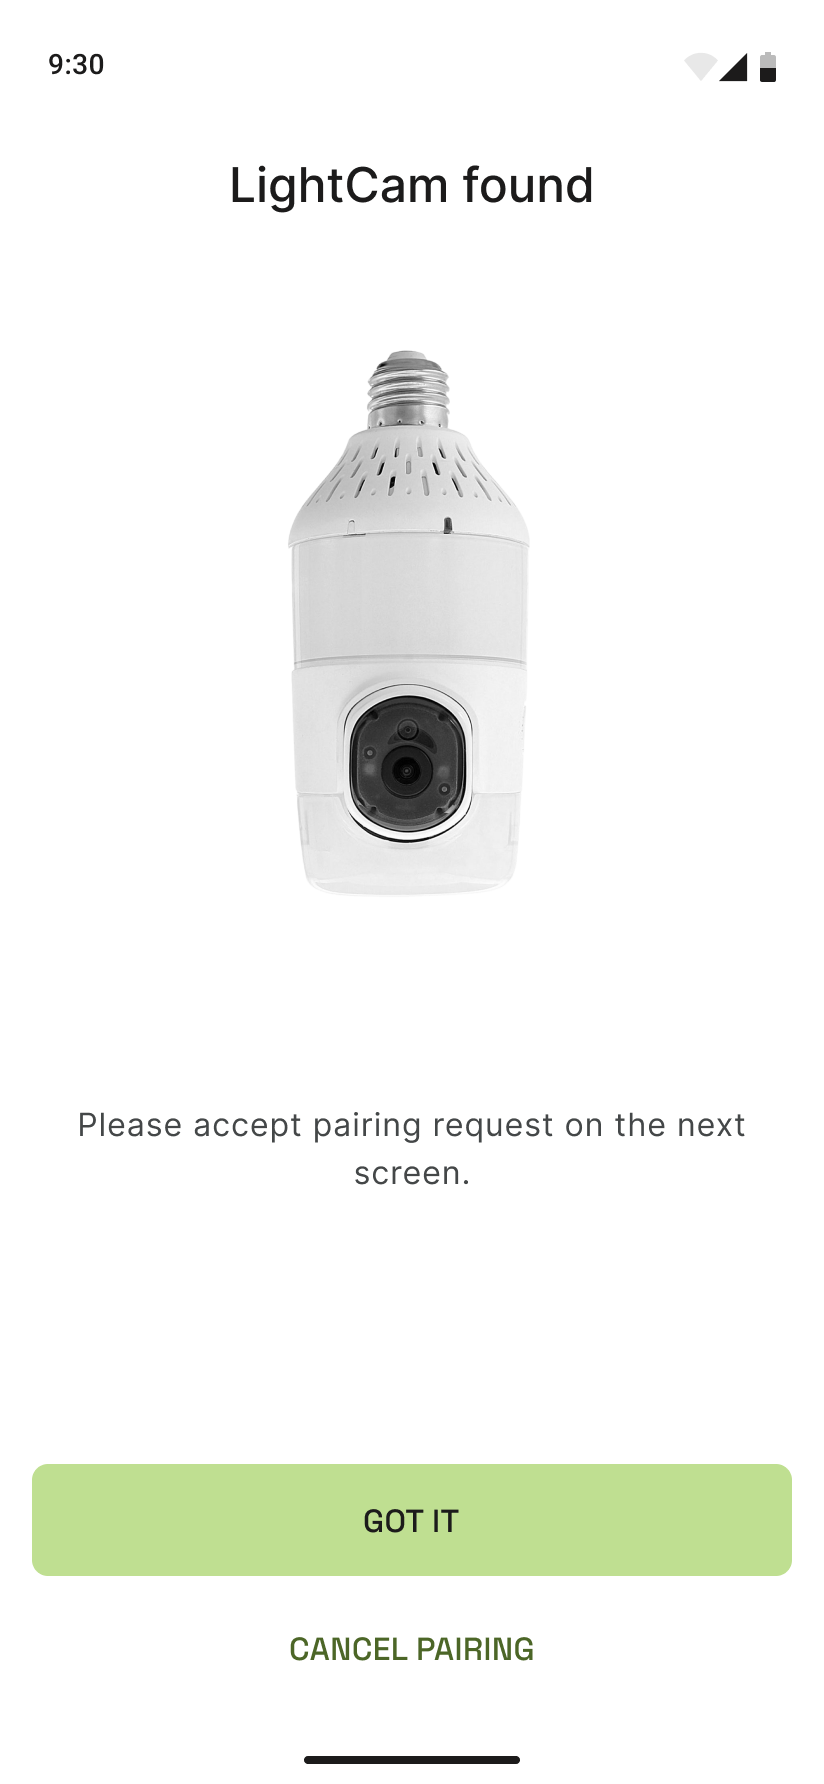
Wait for “Looking for LightCam” The app will search for your device. Keep the light on and wait for the blue LED to blink on the LightCam.

-
Select your device when it appears When Device found (or the device name) appears, tap it to continue.
-
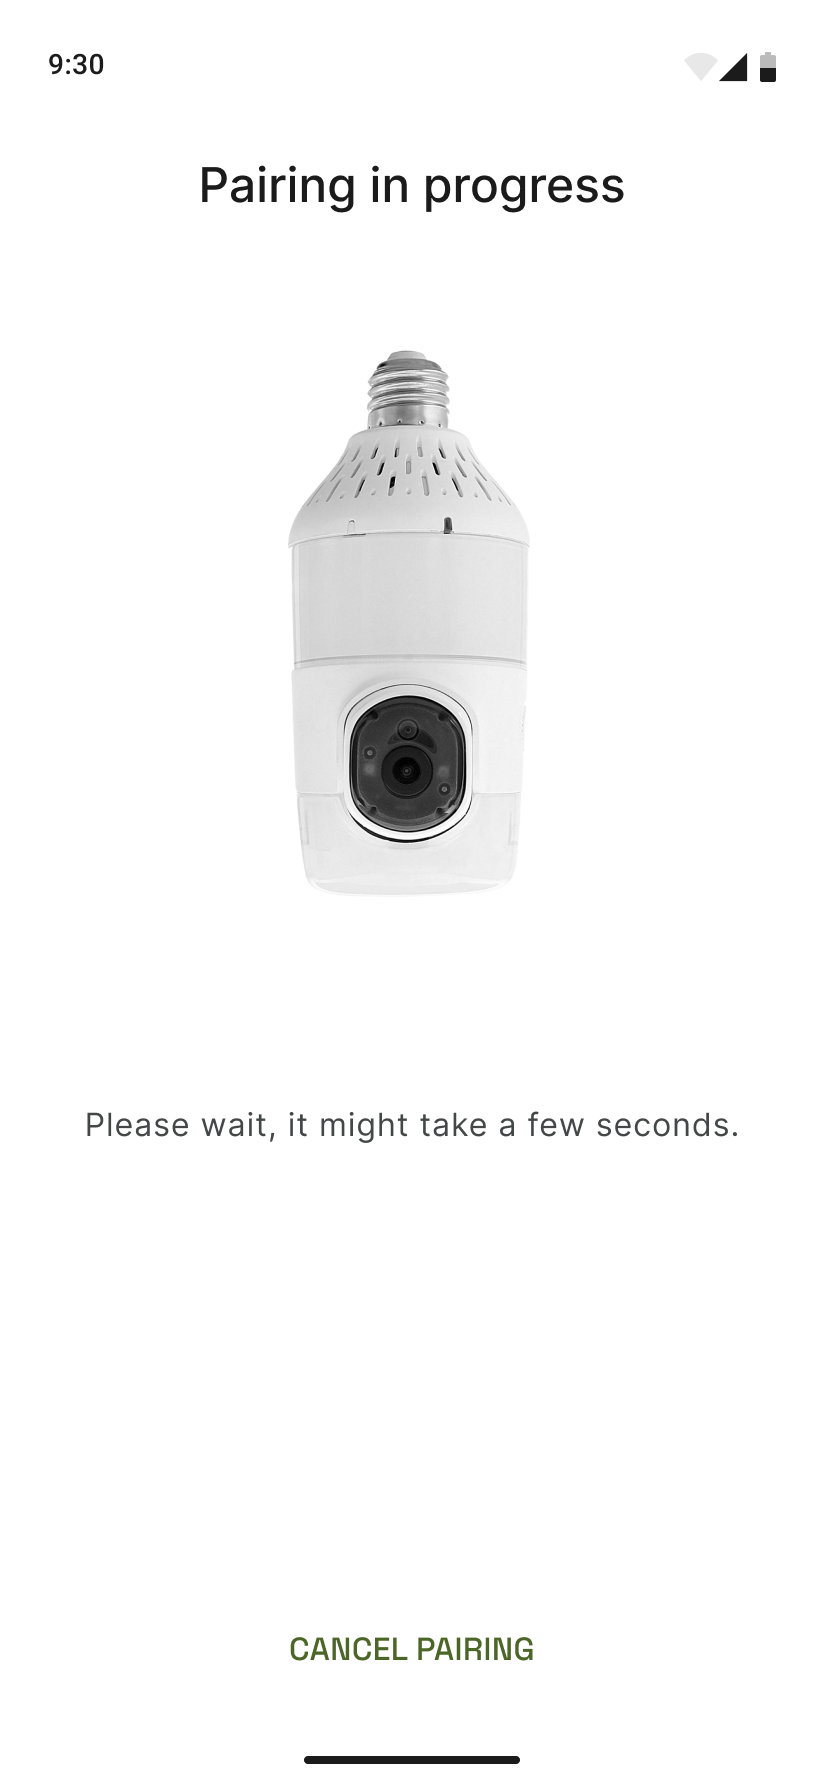
Follow the pairing steps The app will show Pairing in progress. Stay on this screen until it finishes. Do not close the app or switch networks.
-
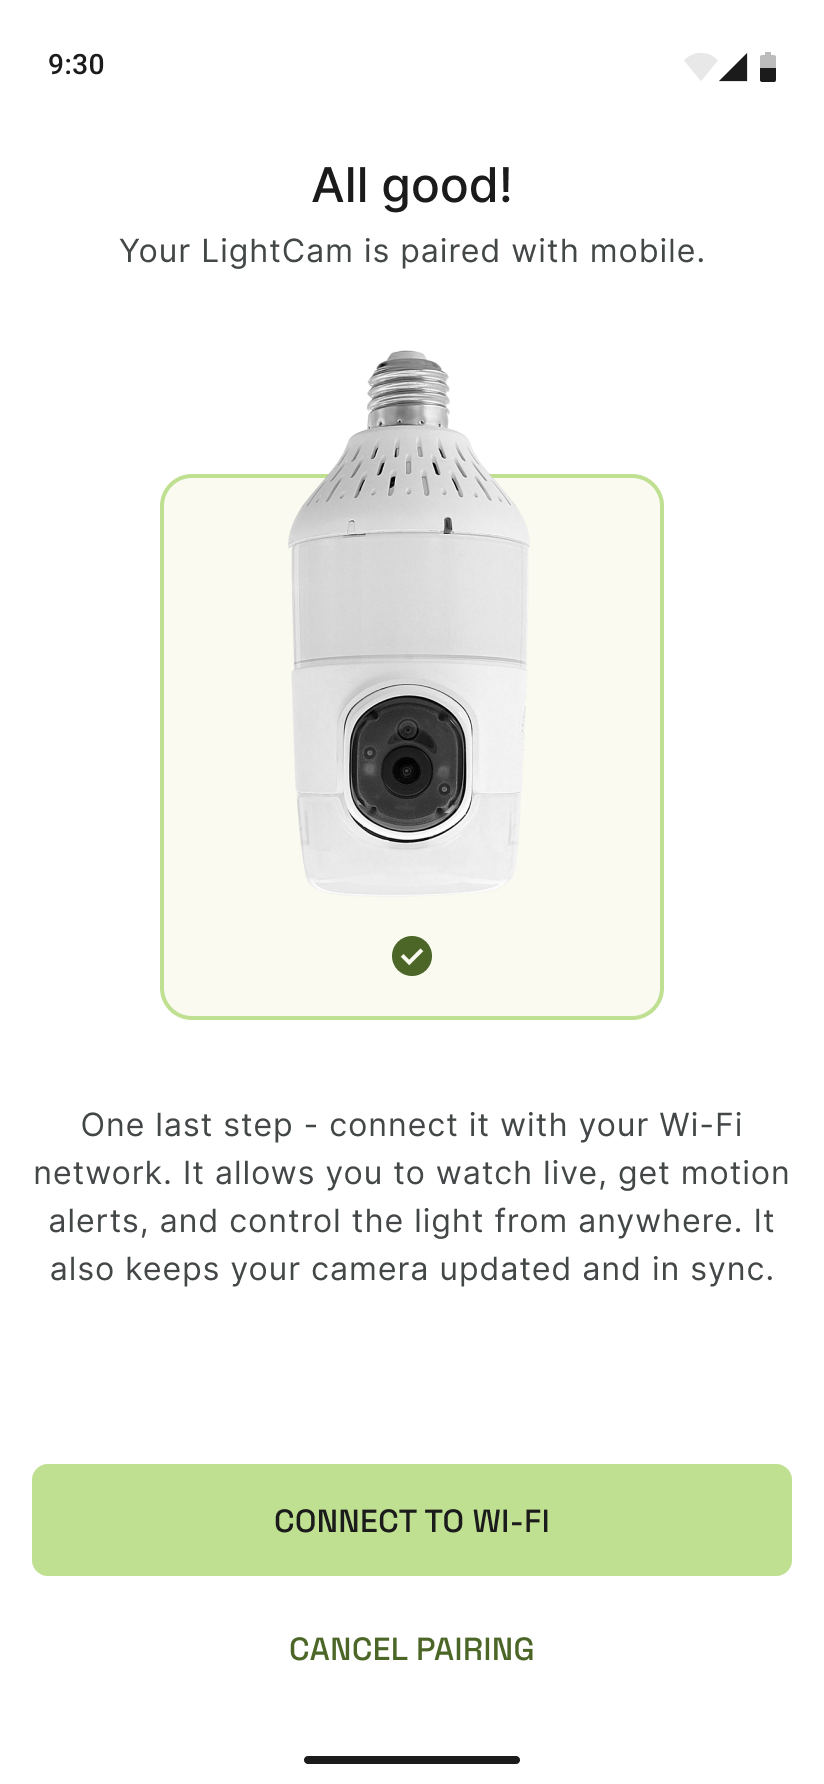
Confirm success and name your camera When you see Pairing succeed, you can name the camera and tap through to finish. Your LightCam will then appear on the home screen.
Common Issues & Fixes
- Camera not found: See Camera Not Found During Setup.
- Permissions denied: See Fix Permissions Denied.
- Wi‑Fi errors during pairing: See Fix Wi‑Fi Connection Errors During Pairing.
- Pairing stuck: See Pairing Stuck in Progress.
Still Stuck?
- Camera Not Found During Setup
- Fix Permissions Denied (Camera / Network / Location)
- Go to your account → Messages to contact support.
Last updated: February 2026